How to Use Our Online Menu Builder
September 21st, 2021 | Coffee Industry Insights & Trends
At Matthew Algie, we pride ourselves on being the complete café partner for your business. We are continuously improving to support you with everything you need to help your café thrive, from the coffee machine and the coffee, full training and dedicated support, right down to the development of your menu.
We’ve created a new tool that will do this for you, and it’s optimised based on our expert research and experience. Our customisable Menu Builder will produce a bespoke menu for your café that you can simply print out to use. And it’s completely free!
This guide goes through each step of the menu building process so you can make a perfect menu first time! We recommend using your desktop to create your menu, but it is fully optimised for mobile, so you have that option too.
We think our builder is very easy to use, but for some top tips along the way, read our guide on how to make yours…
1. Add your logo
You can add your own logo to the menu for a bespoke feel. Simply click on ‘Upload a logo’ and choose the one you want to use. We recommend a landscape rectangle or square image and one that is no bigger than 4 GB. If you add a logo, then change your mind, just click back on the uploaded pic to remove it and start again.
2. Choose your coffee blend
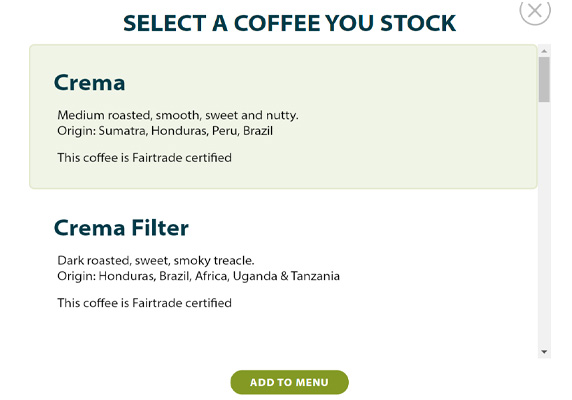
Click on the plus sign to pick the Matthew Algie coffee(s) you serve. This will open a window that lists each coffee and its flavour profile. Choose yours by clicking on it, then select ‘Add to Menu’. You can choose a maximum of two here, so repeat the process to add another. If you make a mistake, just click the cross on the top right of the box to remove that coffee.
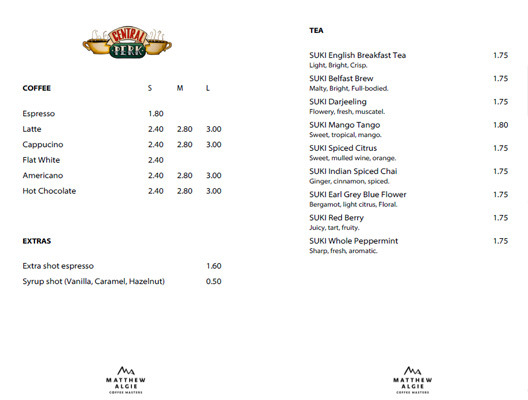
3. Add your pricing
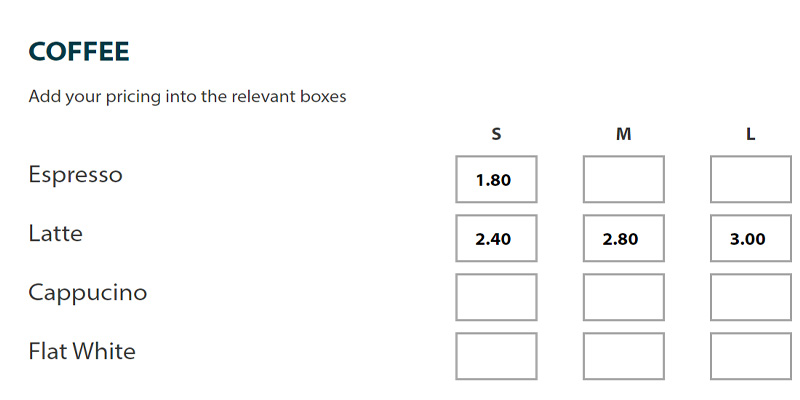
Next, it’s time to add the pricing of all your coffees! You’ll find them all listed on the left, with boxes for small, medium and large size boxes on the right. Simply enter the cost of your drinks into the relevant box.
 4. Added extras
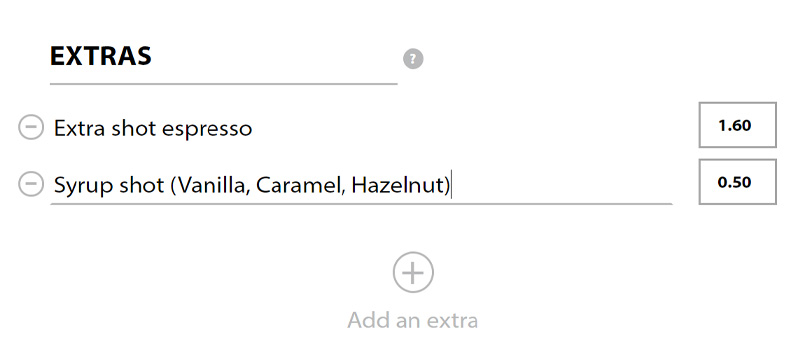
The next section has a default title of ‘Extras’. This is an area where you can add in extra shots of espresso or syrups if you like. Click on the work ‘Extras’ to change the title. Click on ‘Extra shot of espresso’ to edit this text and add pricing in the box to the right. To add another extra, click on the plus icon underneath where it says, ‘Add another extra’. You can add as many as you need.
If you don’t want to use this section at all, simply delete all the text and it won’t appear on your menu.
 5. Add your tea pricing
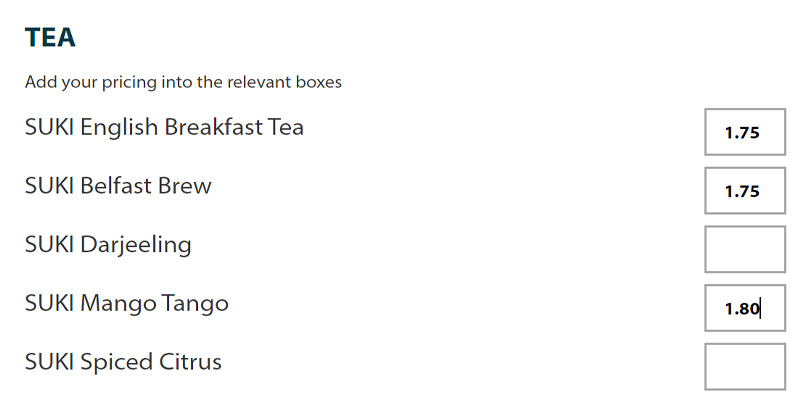
Next, you’ll find all our SUKI and Pavilion Tea flavours listed. Add your pricing into the boxes next to the teas you serve. Any left blank will not appear on your final menu.
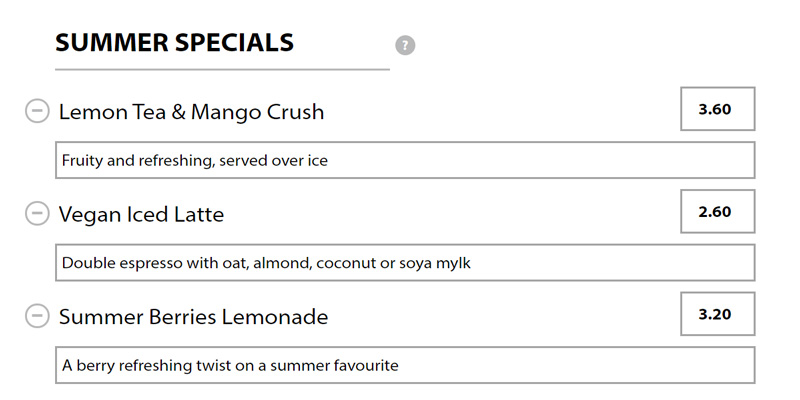
6. Add a custom drinks area
This area is optional but is a handy space to include your seasonal items or other custom drinks. Click where it says ‘Add custom title’ to edit your title. Maybe this is Summer Specials, Winter Warmers or Smoothies & Shakes – it’s entirely up to you!
Click where it says ‘New product’ to add in the title of your drink. Click ‘Customise this description’ to add a description, then add the price in the box.
To add another, simply click on the plus icon underneath where it says, ‘Add another serve’. You can add as many as you need.
If you don’t want to use this section at all, simply delete all the text and it won’t appear on your menu.
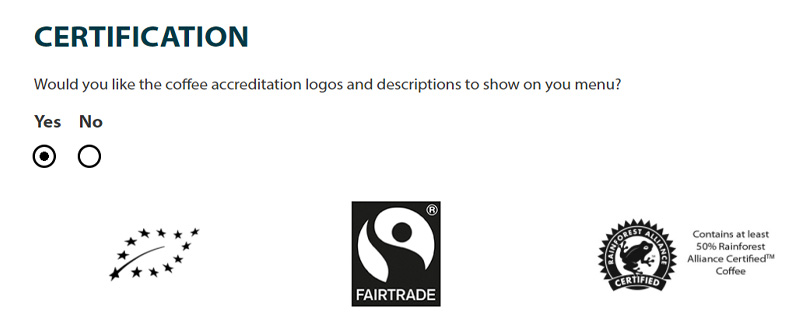
 7. Promote the coffee certifications
In the ‘Certification’ section, you can choose to display more information on the certifications your coffee has. This is pulled through onto your menu dynamically based on your choice of coffee in step 2. So, if the coffee you chose is Fairtrade only, your menu will only show the description of Fairtrade. If your coffee is triple certified, it will automatically show all three descriptions for Fairtrade, organic and Rainforest Alliance.
Simply check ‘Yes’ to show them, or ‘No’ to hide them.
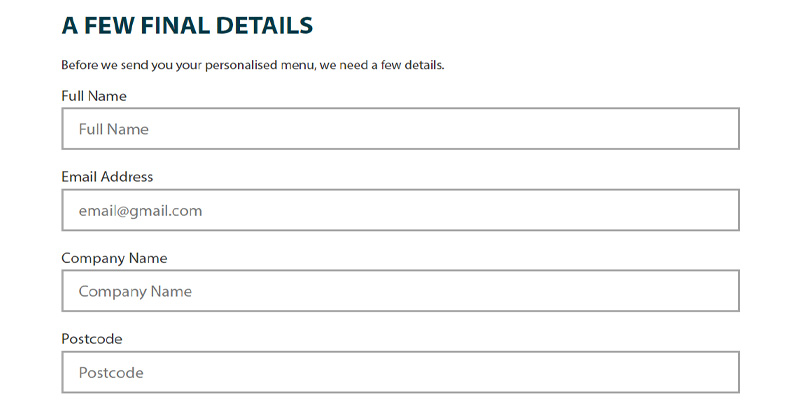
 8. Enter your details
Then we need your details in order to send your menu to you, so please enter them here.
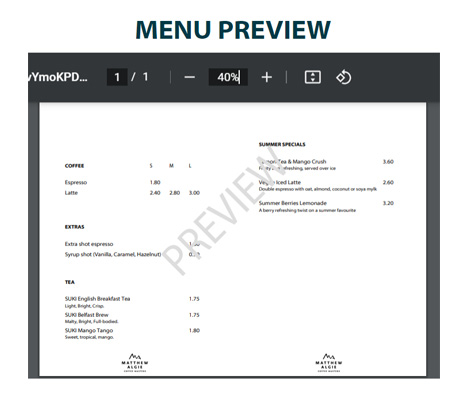
9. Preview your menu
Important! Before you make your menu, hit the ‘Preview’ button to check you’re happy with how it looks. If you wish to make tweaks, close the preview and scroll up to where you need to make your change. If you are happy with the menu, then there is only one step left..
10. Create menu
Hit ‘Submit’ to send a copy of your menu straight to your inbox. From there, you can print it and use it in your café.
And that’s it! It’s really that easy!
Ready to make yours now? Give it a go here!